Introduction
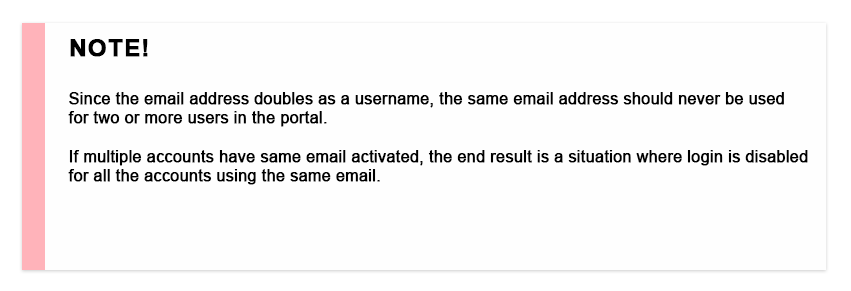
Your customers’ access to Self-Service Portal can be managed both manually or automatically.
When the access is managed manually, you can activate access in the CRM with an element on the contact card. With this element, you can activate the access but also manage e.g. the portal profile, which further determines the contact’s rights to see modules and fields in the portal (for more information about determining portal profiles, see Portal Settings).
It is also possible to automate activating or disabling portal access with workflows; if the contact meets the conditions of the workflow, the portal access and profile can be either activated, updated or removed entirely. The element needed for manual management can be added to the contact card regardless of the automations.
Adding the Portal Access Element to Contact Card (Manual Management)
There is a standardized element for managing contact’s portal access, which can be added anywhere in the contact card. You can add the element in the legacy interface in the CRM2 Layout of the Contacts module (the Settings button ![]() in the Contacts module → CRM2 Layout).
in the Contacts module → CRM2 Layout).
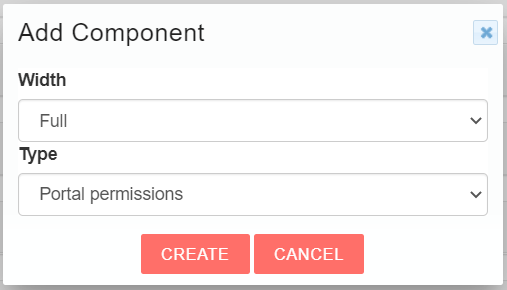
While adding a new element, select “Portal permissions” in the Type picklist (see the picture below) and the wanted width.
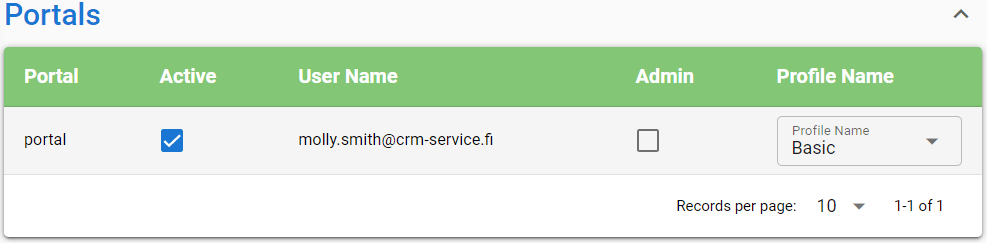
The element is operational right after creation. With it, the users that have read permissions to the contact can determine the following information:
- Active – Determines whether the contact has access to the portal. With this setting, the access can later be disabled.
- Admin – This setting gives the contact permissions to see and add new contacts to their company.
- Profile Name – The contact’s portal profile, which determines the read and write permissions they have in the modules activated in the portal. For more information, see Portal Settings.
Activating Access Automatically with Workflows (Automatic Management)
Activating and/or removing portal access can be automated in Settings → Workflows. Alternatively, you can also access these settings through the Contacts module’s settings.
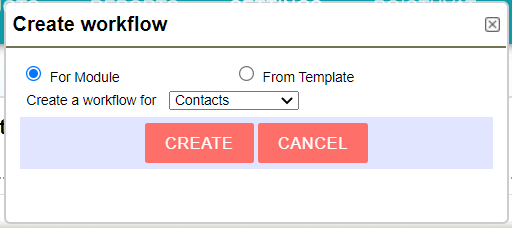
To start creating an automation for activating portal access, click the New workflow button at the top right corner and select Contacts as the module (see the picture below).
First, determine the following information for the workflow (for further information about setting up a workflow, see Workflows):
- Description – The name of the workflow.
- When to run the workflow – Determines when the workflow is triggered. In this case, e.g. the alternative “The first time all the conditions are met” does not make it possible to reactivate the credentials, if they have been passivated or removed earlier. With “Every time the record is saved”, reactivation is possible.
- Conditions – The rules which have to be met to activate the portal access. It is recommended to include a condition for making sure that the contact has an email address for logging in (Email – is not – field left empty).
Save the workflow after you have provided the information above.
The Tasks section will appear after the first save. The task for activating portal access is done by clicking New task button and selecting “Add or update portal user“.
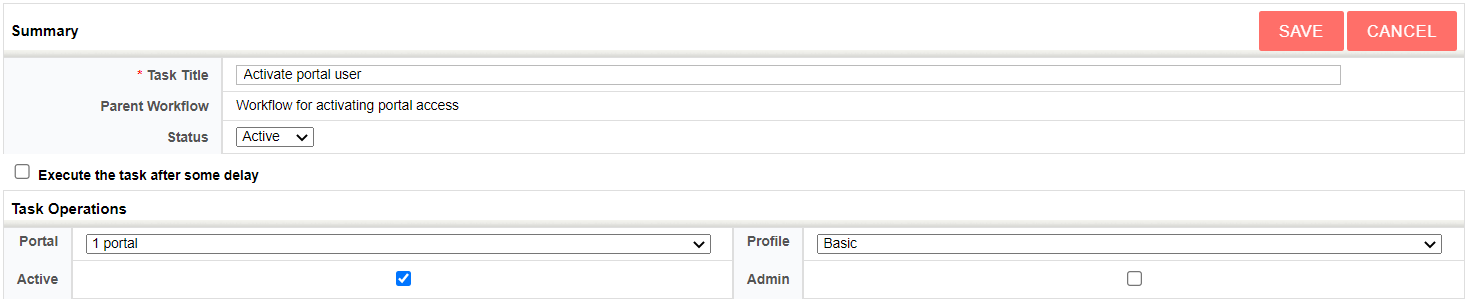
Name the task and make sure that it is active. If necessary, you can also set some delay for the task. The last step is to fill in the following fields (see the picture below):
- Portal – The portal to which the access is granted.
- Active – Determines whether the credentials are active; this must be set active.
- Profile – The contact’s portal profile, which determines the read and write permissions they have in the modules activated in the portal. For more information, see Portal Settings.
- Admin – This setting gives the contact permissions to see and add new contacts to their company.
When the workflow is saved, it is operational right away.
Removing Portal Access Automatically
Portal credentials can also be removed automatically with a workflow of its own.
The creation is very similar to the previous one. Pay attention to the conditions, which should most likely be opposite to the ones in the workflow activating the access (e.g. it is recommended to include a condition that the access should be removed, if the contact no longer has an email address: Email – is – field left empty).
The task needed for removing the access is “Remove portal user“.
In the settings of the task, determine the Portal which the contact should no longer have access to, and you can also set the Profile to be empty (see the picture below).