General
In the surveys module, it is possible to create different surveys that can be sent to users via email or during mass event registrations. This guide explains how you create a new survey in the Survey module. You can find the instructions for the survey editor here. Instructions for surveys made specifically for mass events can be found here. For instructions on how to send the survey using email, check the instructions here.
Start
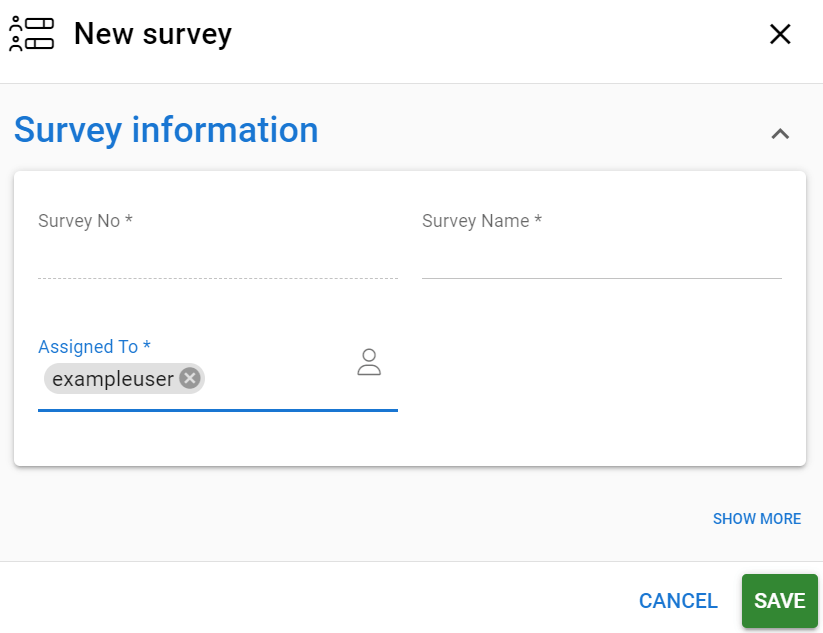
A new survey can be created by going to the Survey module and pressing the New button. At a minimum, the survey requires the name and responsible person. However, your system may have more required fields since this can be controlled via settings. After the required information is filled in, the user can press the Save button and the empty survey template is created.
Quick Start Guide
- Go to the survey module and press New.
- Fill in the form and press Save.
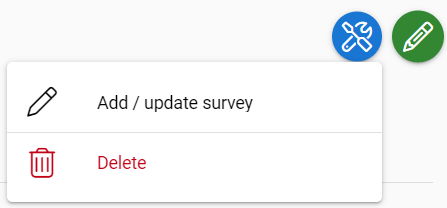
- Open the survey and select the Module tool button.
- Choose Add/update survey.
- Enter wanted questions and press Save.
- Add the survey to the wanted email template by using the link type: survey
Setting up the survey
To begin creating the survey, navigate to the Survey module and press the new button ![]() . Then you need to fill out the survey information to the following form:
. Then you need to fill out the survey information to the following form:

At its most basic level, the survey needs only a name and a person to whom it is assigned, unless the system settings state otherwise. You can always click the Show More button to fill in more information in advance. Available fields and required fields depend on your system settings. When you are done, press Save and the entity card for the survey is ready.
Creating and editing the survey
Next, it is time to navigate to the survey itself by clicking it on the list view. Pressing the edit button will allow you to edit the information in the entity card that you gave to the survey in the previous step. We have only created the survey entity card at this point, so there is no actual survey to be sent out yet. All changes to the survey are done through the same function, so when you want to add or modify the survey, use the module tool button and select Add/update survey.

Now you enter the survey editor, where you can make multiple types of different surveys from questionnaires to quizzes. So just add your questions, press save and share the survey. For survey editor instructions, check this article.