General
We have created a video to explain visually how the process works, so you can watch it here.
The default email address of the system is mailer@ecp.fi. By adjusting the settings, it is possible to add other addresses, which will appear in the list including the name you gave them when you added the address. We recommend adding your own email address for all our customers, as it allows better control of the security features of emails through the DNS TXT records of your domain.
In this guide, we will show you how to add a new email to your system and how to edit the DNS TXT record to activate SPF and DKIM for emails. For more information about DNS records, see What DNS Means and Managing and checking DNS Records. For more information on authentication methods that increase email security, see What do SPF, DKIM and DMARC mean to your emails?
TIP: The domain name service provider is the entity that registers and manages the domain address, such as www.example.com – this could be the organisation itself, a separate name service provider or a website hosting company from whom the service is purchased at the same time with the hosting of the website.
Quick start guide
- Configure a new preferred outgoing email address for your organisation using the CRM service’s admin settings. During this process, you will receive the necessary information on what the domain name service provider needs to add to the DNS TXT records to activate SPF authentication.
- Find out who is responsible for the DNS records of your organisation’s domain and send them the information you received in step 1 so the DNS TXT record and SPF record can be created.
- Once the email activation is complete, go back to admin settings to start the activation of the DKIM record. Copy the DKIM information (TXT header and two-part key) you received from the system and send it to the person responsible for the DNS records of your domain.
- Once DKIM is active, you can click on Enable DKIM in the settings.
- Create a new DMARC TXT record as a new DNS TXT record to define the rules for what to do with emails in case of problems and where to send reports.
- Configure the “Show only customer email address” function in the CRM service root user settings to remove mailer@ecp.fi from the following bulk emails sent.
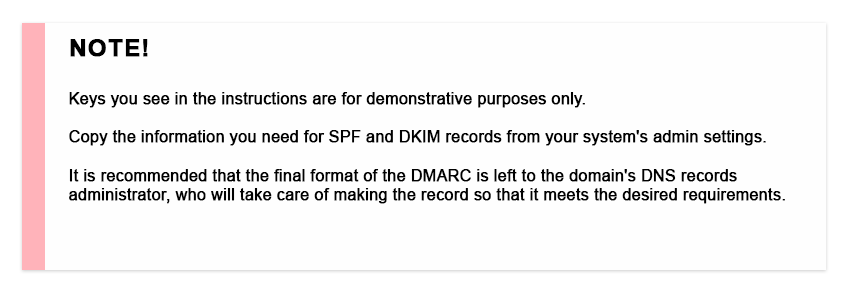
NOTE:
Once the DNS record has been configured, wait until the DNS record is updated. The update time depends on the settings, like what TTL (Time To Live) you have set for the DNS record, but usually the change will take effect within 48 hours.
Setting up the sending address
To set up the address, navigate to the Email Delivery settings menu.
Next, you can add the address by clicking the button on the right side of the page.
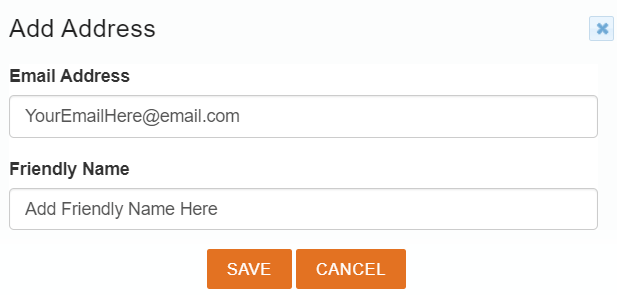
After that, you will see a popup menu that asks you the email address and friendly name you want to set to the address.
SPF Record
Once you have configured the email address, you need to configure your DNS provider’s TXT record and extend the domain’s SPF record (see the example image below). Several DNS TXT records are created in this process, as in addition to the general DNS TXT record (pictured below in part Domain validation pending), SPF, DKIM and DMARC are also different types of DNS TXT records.
Below is an example of how the system will ask you to do domain validation by creating a DNS TXT record for your domain and do the SPF validation by updating your domain SPF record with the given information. So with this information, one DNS record is created and another one modified (or created if it does not yet exist).
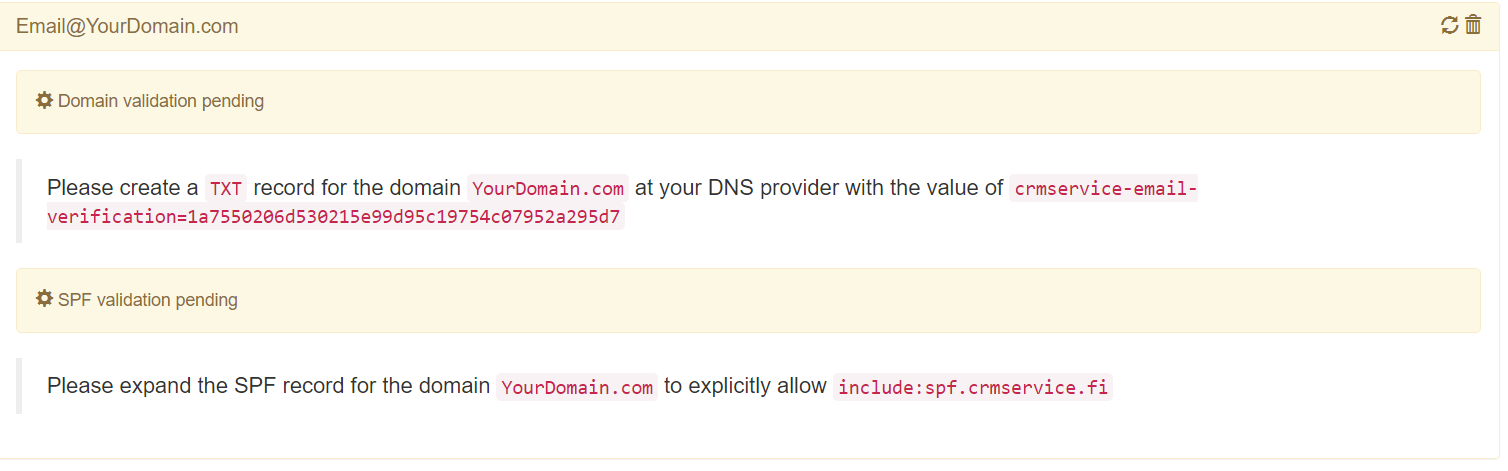
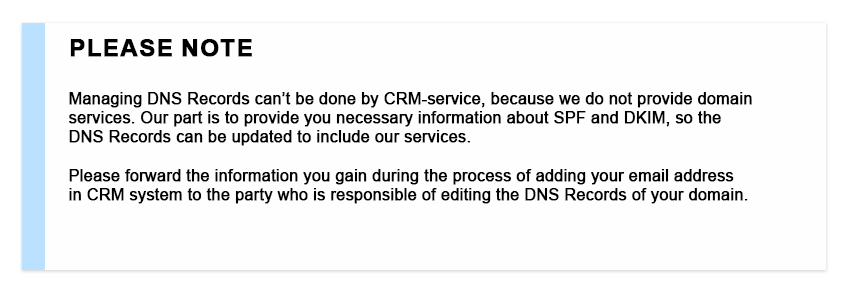
NOTE: CRM-service is NOT able to set up these for you. SPF records identify domains and mail servers that are allowed to send email on behalf of your domain. These settings are required so we can verify that the messages sent by added addresses are allowed by you. If you need help with TXT or SPF records, you need to follow the instructions provided by your DNS and domain providers.
While the address verification is pending, you can use the ![]() to refresh the view or
to refresh the view or ![]() to delete the request.
to delete the request.
After the setup is completed, the added email will show up on the list. You can set up a new default by selecting the wanted address using the radio buttons next to the email addresses.

DKIM Record
To ensure the safe delivery of your emails we highly recommend activating both SPF and DKIM to your emails. DKIM can be added to your own emails by going to Settings -> Email Delivery.
DKIM can be added to any email that is added to the system by your organization. You can start by pressing the Manage DKIM button in the Actions column (see picture below).

After you press the button, you will be presented with the view which shows the domain name for the TXT record (1) and then the Value 1 and the Value 2 keys (2). This information is required to be entered in the DNS settings of your domain. The text in the TXT row is the information that serves as DNS Host Name, aka TXT Record Name.
Values 1 and 2 are the DKIM key. Because DNS TXT Record can’t have over 255 characters in one string, the key is split in two. They are already inside ” marks, so they can be copied (3) as they are and then entered in the DNS Record. After you have copied the needed texts and values, you can close the window (4).
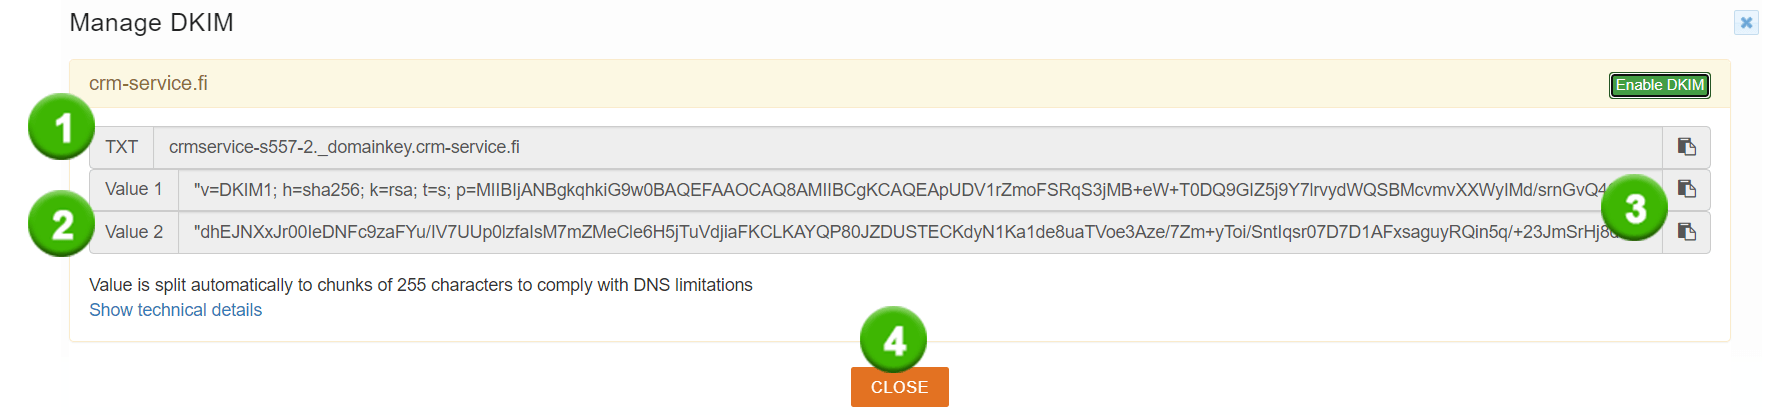
It may take a while for the change to take effect – this depends on multiple factors like your DNS record configuration, TTL etc. For this reason, it is advised to wait before activating the DKIM by pressing the Enable DKIM button. After you are sure that your DNS Record update has gone through, simply pressing the Enable DKIM button will activate the DKIM. After that, the yellow background will turn to green and the button will change its form to the Disable DKIM button, which can then be used to disable the DKIM.

NOTE: DKIM is a kind of electric signature, so each email has unique DKIM values, meaning that you need to set this up for each email separately. We recommend doing DKIM DNS updates all at once, if possible, and also at a time when possible disruption in the email delivery does not disturb the normal functions of your organisation.
How to check if DNS is updated
There are multiple ways to check if your domain DNS has been updated. You can Google how to do this, but to save you time we can recommend a free tool, DMARC Domain Checker by dmarcian, which can be found here. We recommend this one because it will clearly show if SPF, DKIM and DMARC are available for your domain and if they are not, it clearly shows you which of these has issues. So it is easy to use and read without the need to understand complex technical details, unlike other available tools.
How about DMARC?
DMARC is required for some companies so unless it is set up, your users using these companies as their email provider will not receive the messages you send. However, because DMARC is very domain-specific, we cannot instruct you on how to set it up. We have provided some information and examples of DMARC here, but you should talk about your needs with your domain name provider to set up DMARC.
How the outgoing email is shown to the recipient
This paragraph only applies to those who have not activated their own email address and do not do so despite the recommendations. We would like to emphasise that deviating from the recommendations may also lead to problems in the delivery of e-mails due to stricter requirements. But beyond this, it has a direct impact on who appears as the sender of the email.
The default system email address is mailer@ecp.fi. By adjusting settings, it is possible to add other addresses that will appear in the picklist using the friendly name you give them when setting up the address.
Please note that different email services will show the sender differently. So depending on which program the email is read, the receiver will see variations of the following:
From: CRM-service <mailer@ecp.fi> on behalf of [name + address you have chosen]
So why do recipients see different variations of “on behalf” in the From header? From headers of emails are defined by RFC standard 822. It identifies the service that is sending the message, which in this case is CRM-service from the address mailer@ecp.fi. The sending address is determined by the same RFC standard 822, which is why the chosen name and address from the above example identify the address that is responsible for the actual transmission of the message.
When the service sending the message (From) and the email responsible for the transmission (Sender) addresses are different, the way to show this in the field showing the sender information is usually some variation of the “on behalf” text. The RFC standards are in place for a reason, and using “on behalf” is one way to prevent spoofing. When the recipient sees that the email is sent from mailer@ecp.fi, which is the address used by our mailing server, and that it is on behalf of you, the actual sender, they can see that the message is truly coming from you and not from someone who is pretending to be you.
Changing email sender address
We recommend that all our customers use their own sender address for clarity purposes, and SPF, DKIM & DMARC should definitely be activated for security purposes.
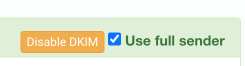
After SPF, DKIM & DMARC are set up, just go to the DKIM settings of the email address you intend to use, and use the checkbox Use full sender. When ticked, this is the address showing up as a full sender address, eliminating the mailer@ecp.fi on behalf of -part that may confuse some recipients.