General
The mass events module enables users to create multiple different types of events, which naturally also means that sometimes those events have invoiceable items, like entrance or lunch fees. It is also possible that the main event is free, but the event has sub-events with separate charges.
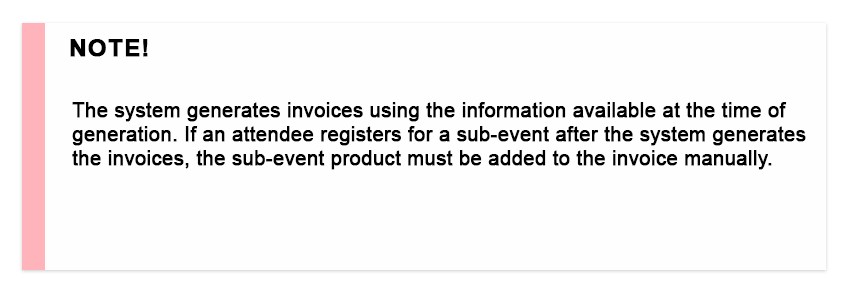
The mass events module provides users with the tools to make invoices inside the module. Invoices are generated by the system using a product that is attached to an event and then invoicing the said product for those who are registered in the event.
Start
Invoicing all those who are registered in the mass event is simple after the mass event itself is already created. You can find a more detailed guide about the creation of mass events here.
Quick Start Guide
- Press the Actions button
 .
. - Select Create Invoices.
- Invoices will be available in the invoices module after they are finished generating.
Example
Here we show how invoices are generated inside the mass event module. It is good to keep in mind that invoicing requires registered attendees, so the event type should be either Needs Registration or Invitation Only. Since it is possible to add registrations manually to the open events, it is also technically possible to invoice those registrations, but it is recommended to make either Need Registration or Invitation Only mass event so people can register themselves for the event.
Sample Event
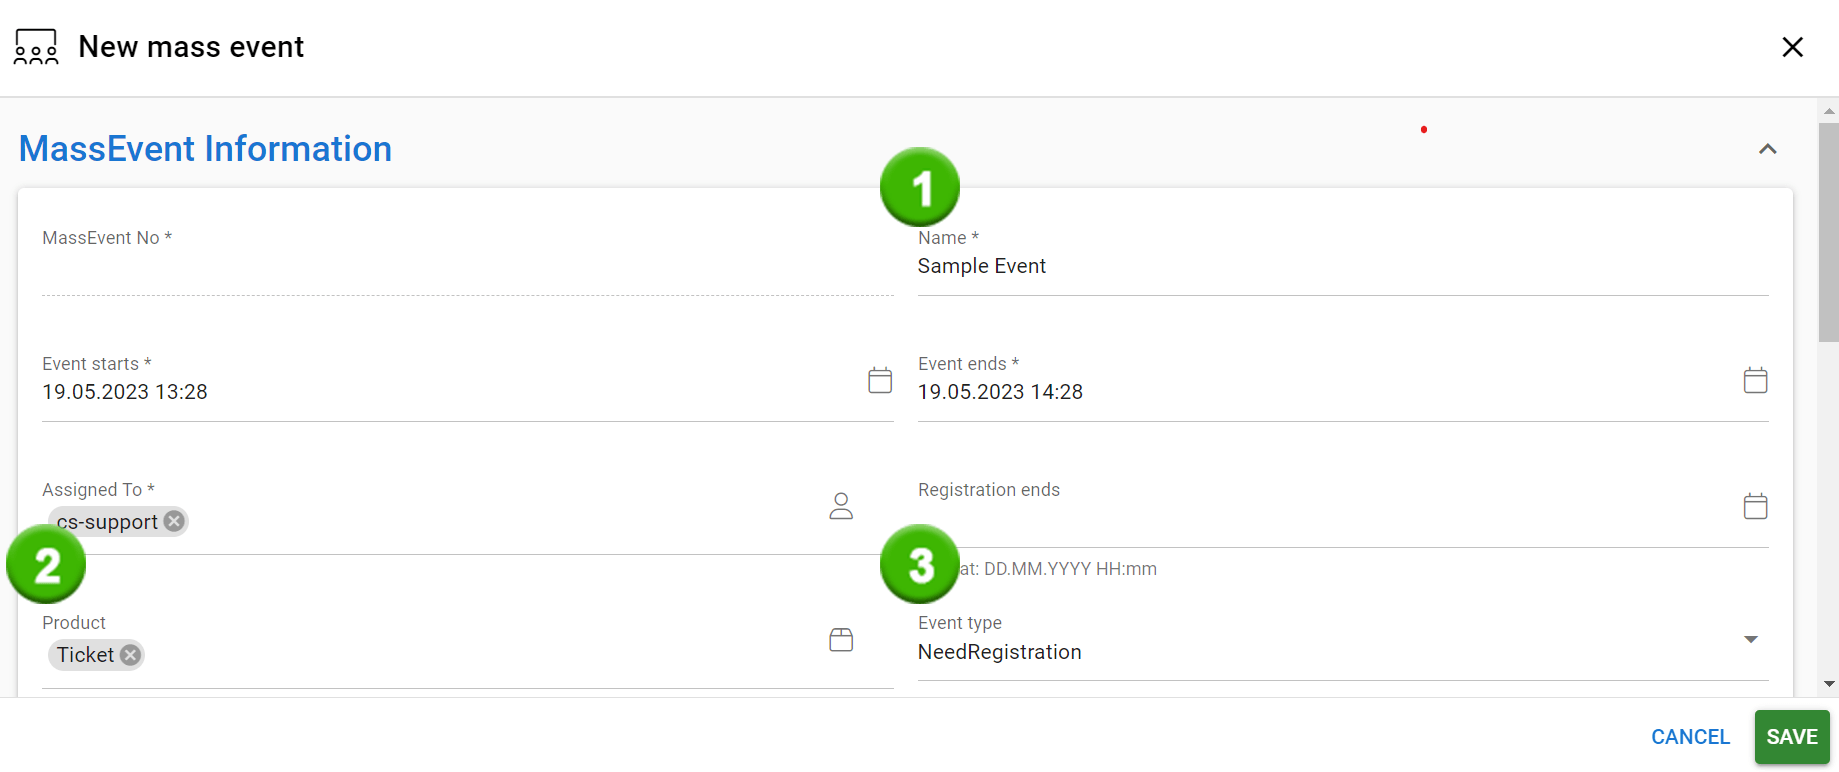
- This event will be named Sample Event.
- We have created a product called Ticket which will be the price of the event.
- Event type is set as NeedRegistration so people attending will get the registration form to fill.
Sample sub-event
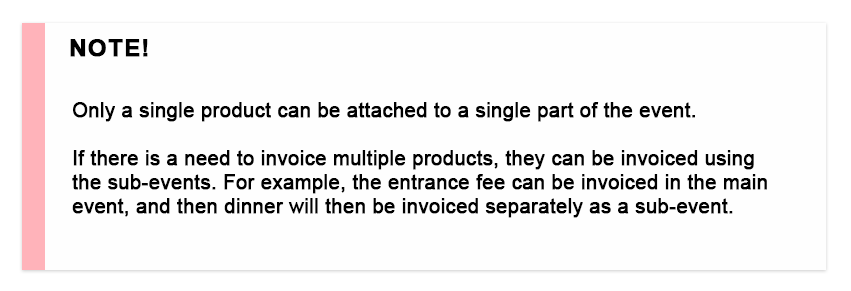
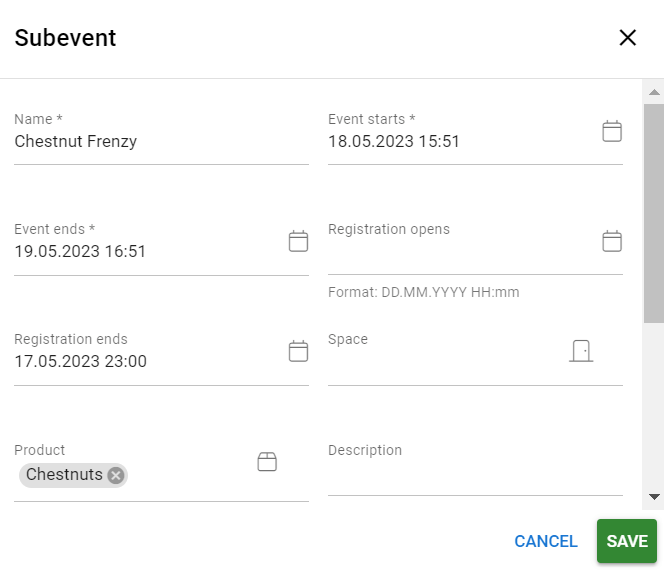
Now everyone attending to the event has a ticket, but in this Sample Event we also want to sell chestnuts to those who want them. Since we do not want to sell chestnuts to everyone, their price is not included in the ticket price. So we want to include an optional sub-event to our mass event that has chestnuts as a product:
Invoicing process
Now our Sample event with its sub-event is ready, but what we need for invoicing process is registered attendees. Our sample event needs registration, so we will get them automatically and their status can be checked in the Registrations tab in the mass event card:
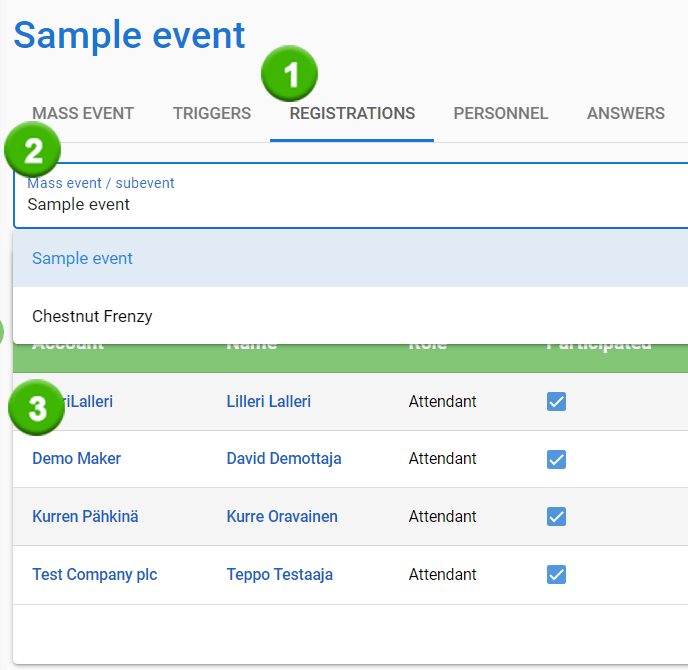
- Clicking registration tab opens the view.
- Registrations for each event are tracked separately and you can switch between them using this dropdown menu.
- Information of the registered attendees are shown as a list.
Create Invoices button can be found by clicking the Action button ![]() . When there is a possibility to create invoices, it will be a selectable action in the menu:
. When there is a possibility to create invoices, it will be a selectable action in the menu:
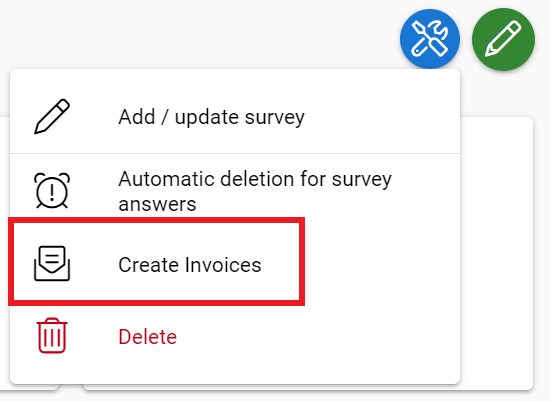
Sometimes invoices are generated before all the attendees are registered. It is easy to check if there are new registered attendees waiting to be invoiced by checking if the Create Invoices is selectable. If there are no new registered attendees, the text will be grey and non-selectable:
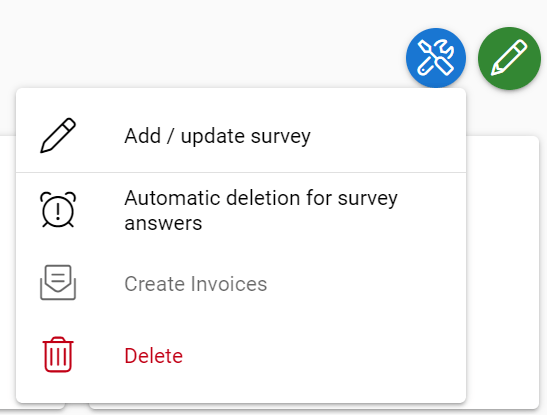
NOTE: If you have created invoices and they are not ready yet, the button is not grey. Always wait until the system has generated the invoices before checking if there are any attendees that need invoicing.
After you select Create Invoices, you will be given a form to fill (picture below). It is good to know that you can invoice all contacts in single account at the same time. So for example, if Company X has 50 attendees to the event, you can create one invoice to all of them instead of creating 50 separate invoices. This happens by checking the box Add all contacts to one invoice per account (1).

Sometimes there will be changes in the mass event that affect the invoicing. The whole mass event module is build in a way that allows a lot of manual edits beside the automatic process. However it is good to note that when changes are made in the event, it may affect invoicing in a way that needs to be fixed manually inside the mass event card.
