General
Mass mailing makes it possible to send e-mails to large groups of recipients directly from the CRM. The mass mailing module takes care of the last step of the sending process – i.e. sending emails – so before that you have to make sure that the email to be sent and the campaign (i.e. recipient group) are active and ready to send.
Start
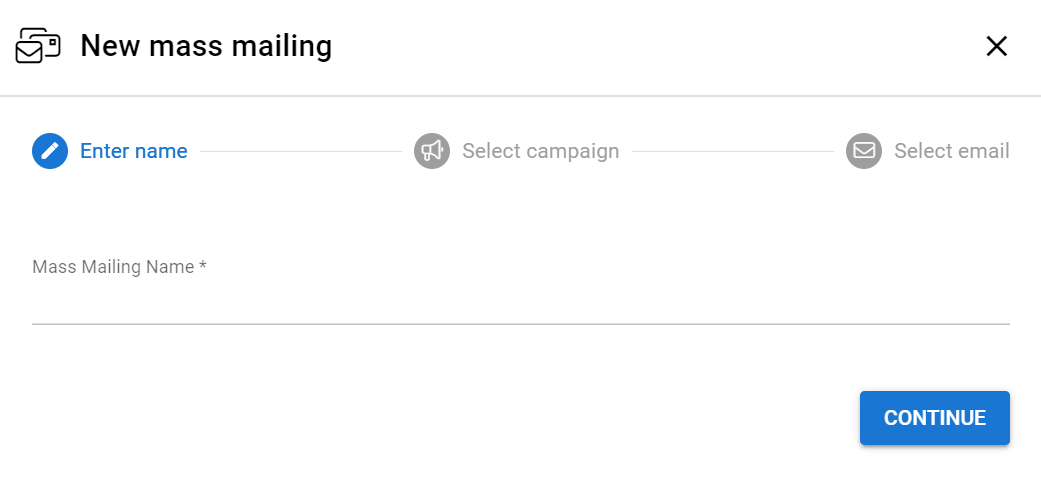
New mass mailings are created in the Mass mailings module by clicking the New button ![]() in the upper right corner of the listing view. When mass mailing is created, the appropriate campaign and email are added into it as well. If necessary, they can be created when creating the mass email.
in the upper right corner of the listing view. When mass mailing is created, the appropriate campaign and email are added into it as well. If necessary, they can be created when creating the mass email.
Quick Start Guide
- Press
 .
. - Give mass mailing a name.
- Add wanted campaign.
- Add wanted email.
- Now mass mailing is created and it is ready for sending.
Creating mass mailing
Creating a mass mailing requires the following information:
- Mass Mailing Name – Only visible in CRM; the subject of the e-mail is specified in the e-mail information.
- Campaign – The recipients of the email.
- NOTE! If the purpose of the campaign is to send emails via mass mailing, the campaign must be email email-type campaign. Non-email-type campaigns are not shown in the list where users can select the campaign used for mass mailing.
- Email – Email to be sent to all recipients.
Sending the mass email
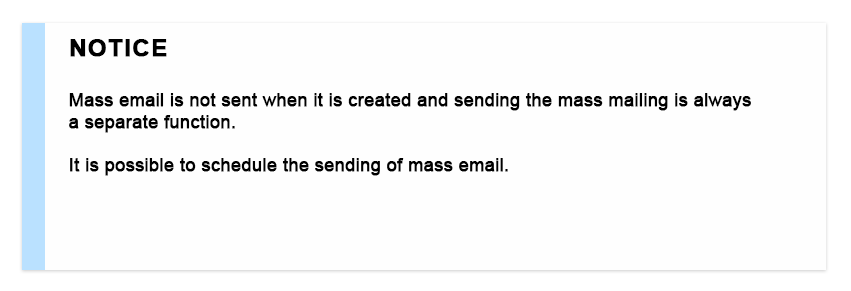
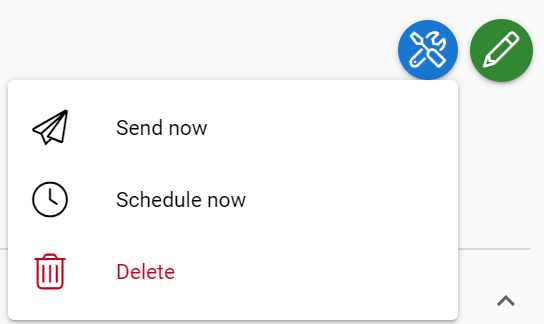
Once the mass mailing has been created and is ready to be sent, you can send the mass mailing in the mass mailing information by clicking the Actions button ![]() and selecting Send now. If you want to schedule the mail to be sent in specific time, select Schedule now.
and selecting Send now. If you want to schedule the mail to be sent in specific time, select Schedule now.
Scheduling mass mailing
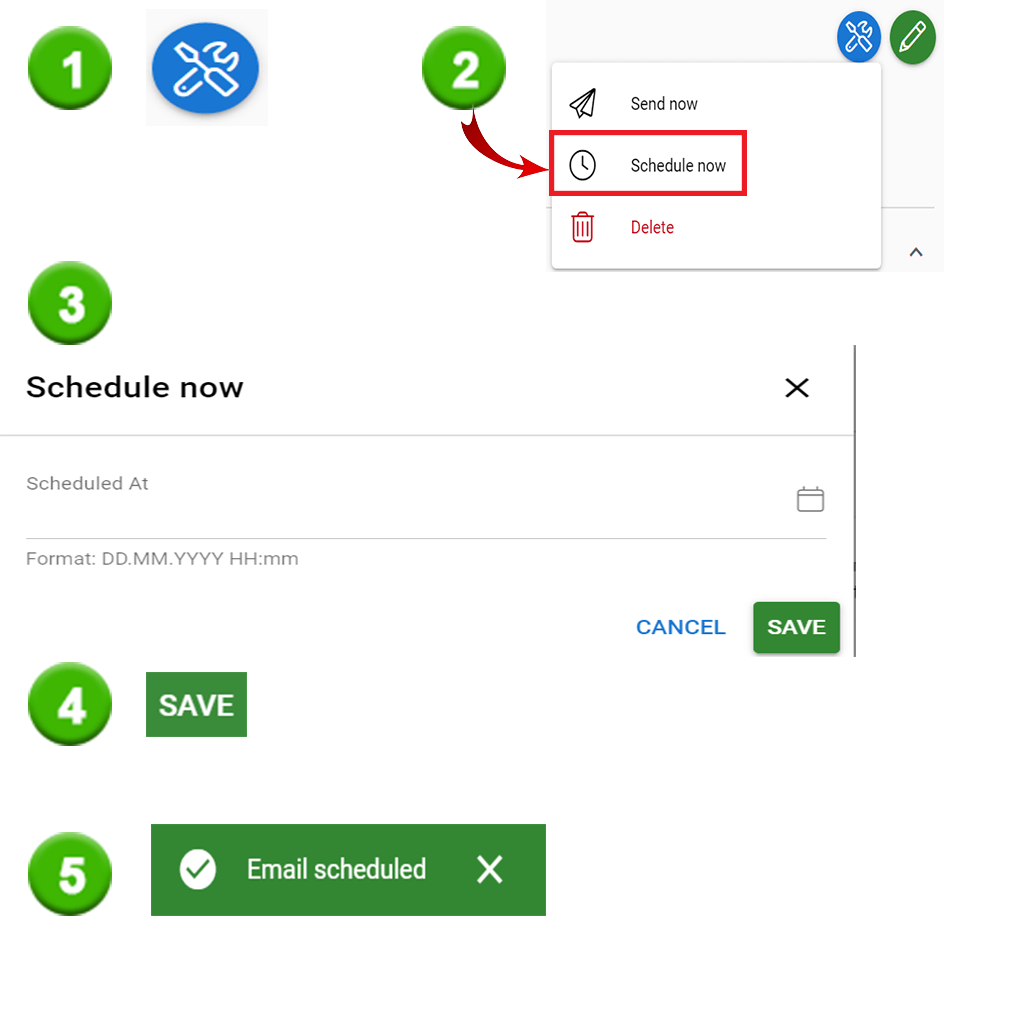
You can schedule mass mailing using following steps:
- Press the Actions button.
- Select Schedule now.
- Set wanted date & time.
- Save.
- As a sign of a successful saving, the message “Email scheduled” appears at the top of the screen.
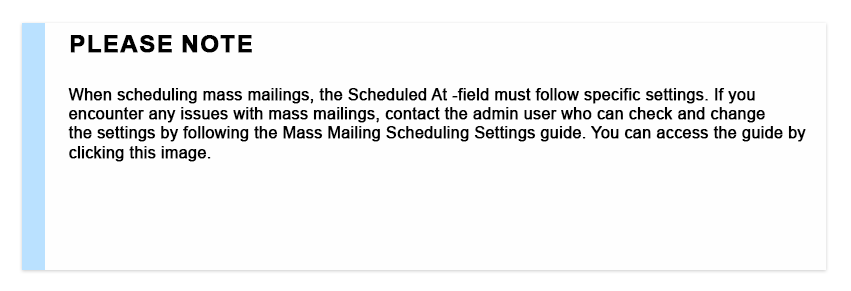
If you encounter issues when scheduling, please contact the admin user to make sure that the settings for scheduling mass mailings are correct.
Unscheduling and editing a scheduled email
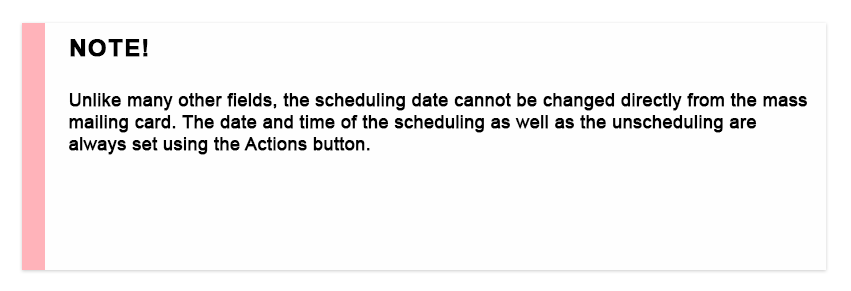
Scheduled emails cannot be edited directly, but as long as the scheduled time has not arrived, i.e. the email itself has not been sent, the email can be unscheduled if necessary. Once the unscheduling is done, the mass mailing can be edited in the same way as any other unsent email. After editing, the scheduling just has to be turned on again, if you still want to use it.
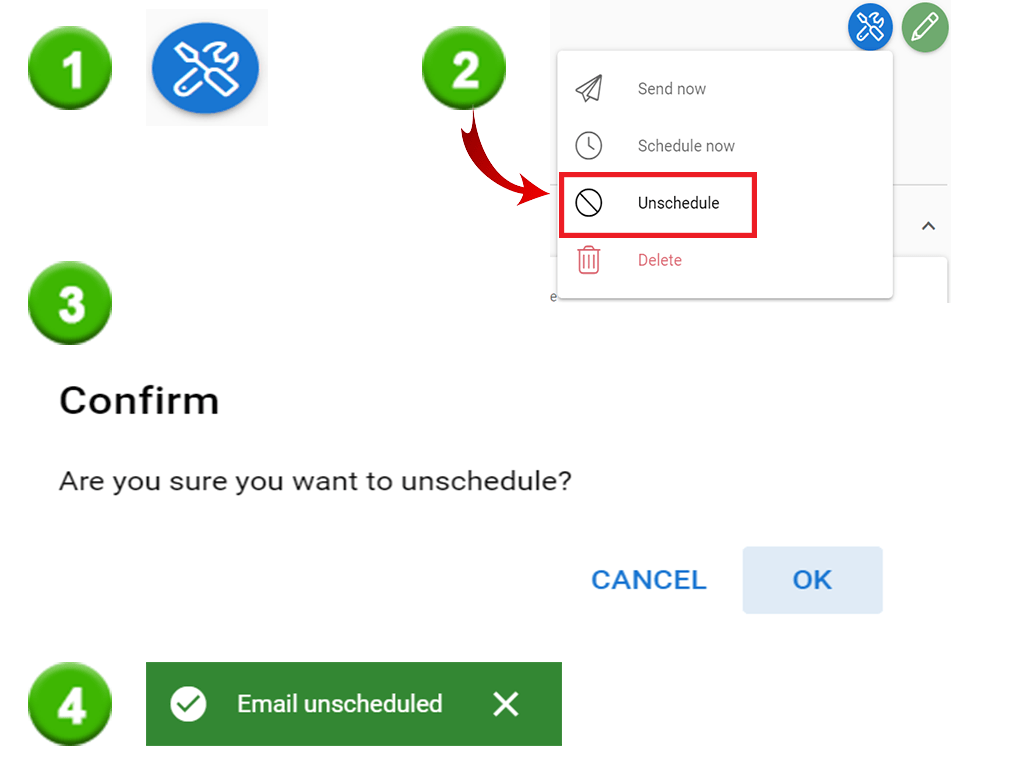
Unscheduling can be done using following steps:
- Press Actions button.
- Select Unschedule.
- Confirm the choice.
- After successful unscheduling you will get a notification in the top of the screen.
If there are problems with the scheduling removal, the admin user should check that the mass mailing scheduling settings are correct.
Mass Mailing Reports
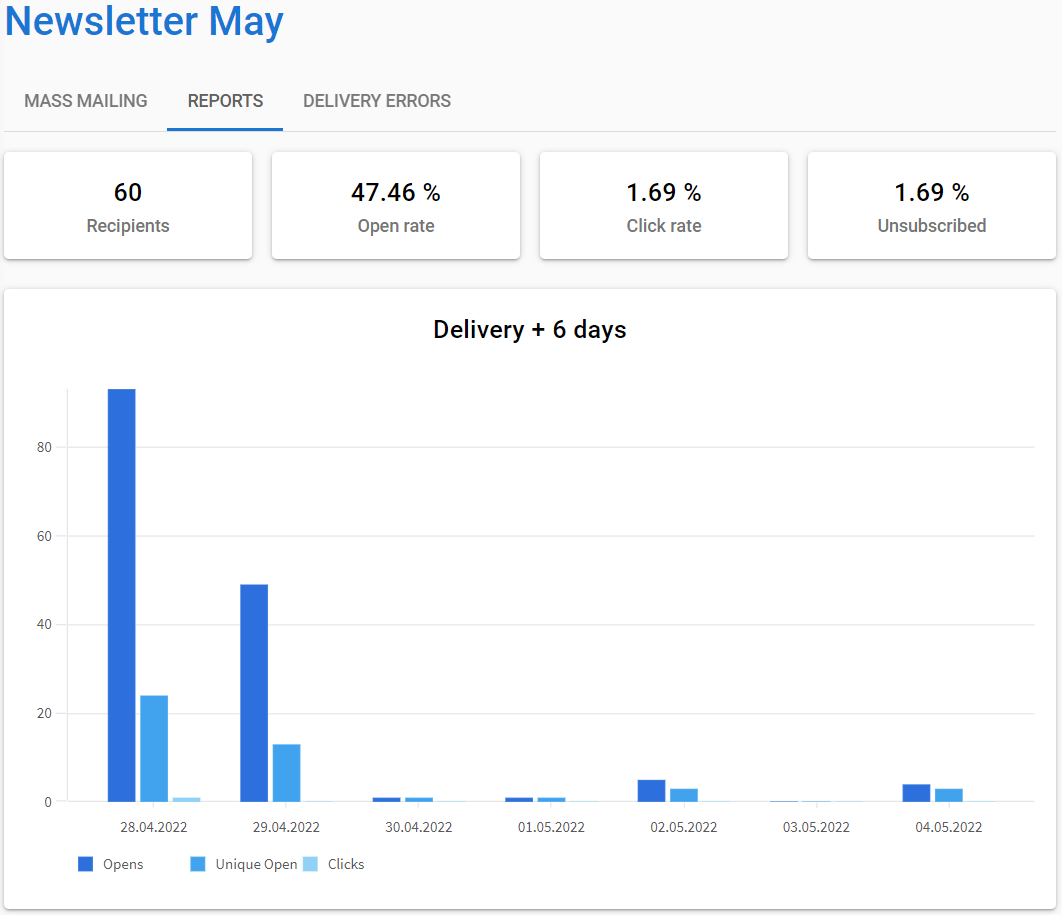
Once the mass mailing has been sent, it is possible to monitor the reception of the shipment in the Reports tab of the mass mailing (e.g. how many people have been sent the email, percentages for opening the email, clicking on links and ending the subscription, openings by date and time).
NOTE: Only the external links are calculated when link openings are calculated. When mass mailing, for example, links to a survey made in CRM use an internal tag, and for this reason opening the survey does not count as link opening.
The bars provide a visual representation of the data, and you can also hover your mouse over a bar to get more detailed information about that bar. By clicking on a bar, you can get a more detailed analysis of which recipients have clicked on the links and how many times they have been clicked.
Delivery Errors
The mass mailing also has a Delivery Errors tab, which shows bounces or other errors that may have occurred in the transmission. Please note that this calculates errors at the sender’s end, but the receiving end may have errors that are not caught via CRM since delivery itself did not have any errors to report. To get errors from the receiving end as well, use DMARC with rua=mailto: option to get these error reports into the email of your choice.
Mass Mailing Unsubscriptions
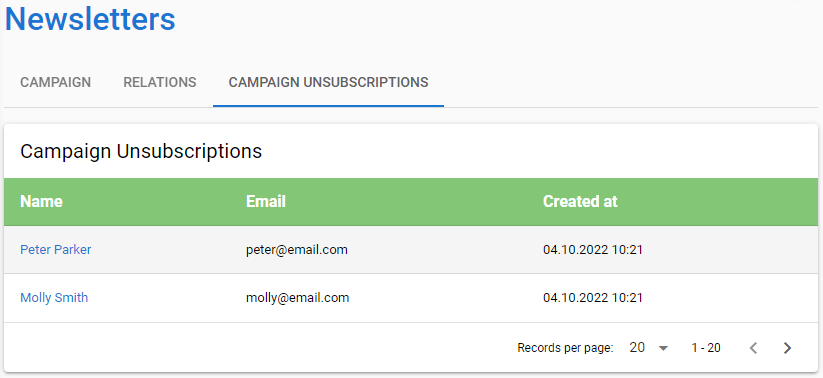
You can find the list of unsubscribed contacts from the campaign that has been used for the mass mailing. The campaign has a tab called Campaign unsubscriptions (see the picture below). This list shows you the contacts that has unsubscribed from the campaign/mass mailing.
