General
The survey settings are divided into three parts. This article will go through the general settings, the page settings, and survey-wide question settings. The survey section guides you through the general settings of the survey. The general settings that are used for all pages and questions are made in the survey settings. For fine-tuning, the page settings define the settings for each page separately, and the question settings allow you to define the settings for each question separately.
Opening Survey Settings
The survey can be edited by using the Survey settings icon or Show panel icon in the survey designer. When the panel icon is used, just ensure that Survey is selected from the picklist to enter the survey’s settings.
General Settings
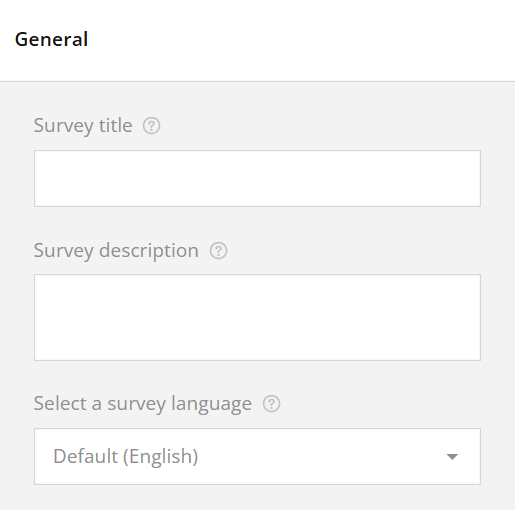
These settings are used to edit the Title, Description and Default language of the survey (see the picture below). Title and Descriptions can be freely written in the corresponding fields, and the Default language can be changed on the picklist. The preset default language for every survey is English.
Logo in Survey Header
This setting gives you the option to add an image to the survey by using the URL of the image you want to use or adding an image from your computer (see the picture below).
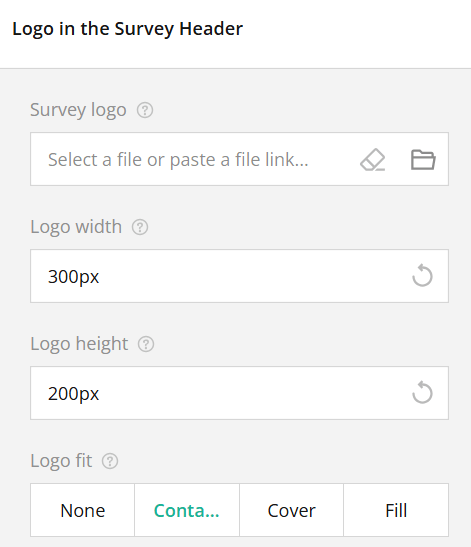
To use an image on your computer, click the folder logo and load the image you like. If you have the image URL, insert the URL in the Logo field to add the image. If you want to change the image or remove it, use the eraser button.
The final size and appearance of the logo are determined by three factors: Logo width, Logo height and Logo fit. Width and height will determine the size of the logo area using pixels as the measure. Depending on the Logo fit method selected, the size of the logo may change when you are adjusting these settings.
Logo fit option has the final saying how the logo will be placed in the logo area (size determined by width and height). Option none doesn’t change the logo at all, so if the logo is larger than the area determined by the settings, parts of the logo are cropped out. If the logo is much smaller than the logo area, the location of the logo will be adjusted and white space will be added around the logo.
Contain is an option which always adjusts the size of the logo so it will fit perfectly in the center of the logo area. So if you do not want to worry about things like distortion, this is one of the best options to use.
Cover option will fill the selected logo area using the logo, but this option will also crop out the excess logo if necessary. This option may require some trial and error to get the best results.
The last option Fill will use the logo to cover the whole logo area without cropping. This may result in distortion of the logo if the selected area has a different width/height ratio than the logo. For example, if you are adding a rectangular logo in a square area, the logo will be squished so it will fill the whole area (see picture below).
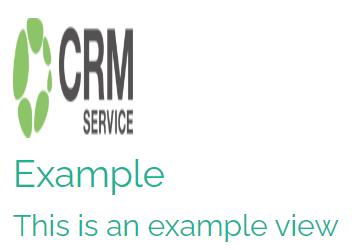
After the logo is set for the survey, the Themes tab gives users more settings to adjust the logo alignment. These alignment settings can be found in the Header settings and have both Basic and Advanced settings.
Navigation settings
Navigation settings determine the text of the survey buttons and settings of the survey progress bar. The first option is the Survey layout, which can be used to quickly edit the survey’s layout settings (see picture below).
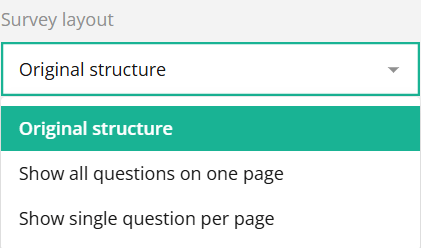
The original structure will show the survey as it is presented in the editor, following the pagination the user has made. Show all questions on one page option displays all questions at once, while Show single question per page option displays only one question at a time.
It is also possible to automatically move to the next page of the survey after all the questions have been answered. This can be done by checking the Auto-advance to the next page option (see picture below). After this option is checked, Complete the survey automatically option will appear, meaning that users don’t have to use the Next and Complete buttons during the survey and they progress automatically just by answering the questions.

Navigation Buttons
Navigation buttons can be hidden, or they can be positioned in Top or Bottom of the survey. Both option shows them in the top and the bottom (see the picture below).

It is not always desirable to let the users go back to the previous page of the survey. Users can toggle the visibility of the Previous page button by toggling the checkbox on/off in the settings (see the picture below).
![]()
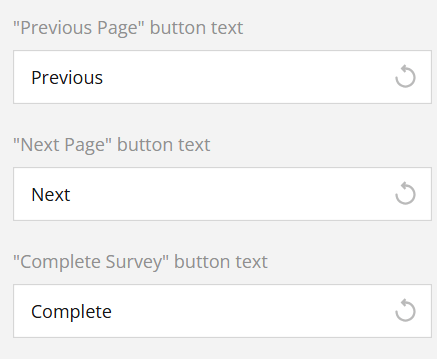
By default, navigation buttons are named Previous, Next, and Complete (see the picture below).
Progress bar
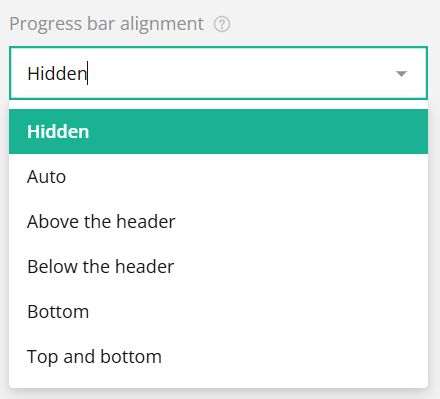
The progress bar is hidden by default, but it can be added at the top and/or bottom of the page by using the Progress bar alignment setting (see picture below).
Progress bar type determines what the progress bar tracks and what it looks like. Only one bar can be used in each survey. The bar type (see picture below) can be used to track the progress of multiple things – pages, questions, required questions and correct answers. The amount filled in the bar shows the user their progress and the numbers below the bar show the progress numerically.
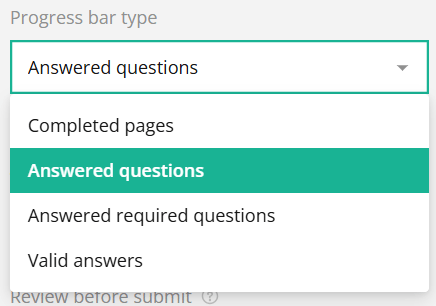
Table of Contents
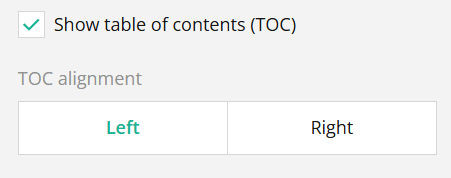
With table of contents option users can create a TOC menu that is visible either on the left or the right side of the survey (see picture below). This shows page names to the respondents and they can click the pages on the TOC to go straight to the wanted page.
Review
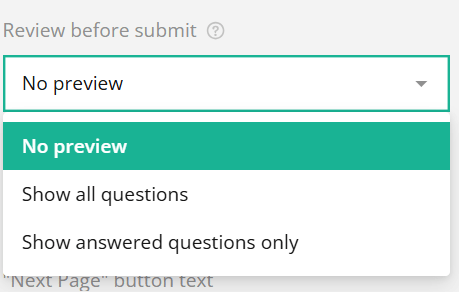
It is possible to provide respondents with the preview page of their answers before they complete the survey (see picture below). You can choose whether you want respondents to see all the questions in the preview or just the ones they have answered.
Question settings
When using survey question settings is good to keep in mind that these will affect all the questions in the survey. Question-specific settings are modified separately in the properties menu by selecting wanted question from the picklist.
The first option in the question settings is Question numbering (see the picture below).
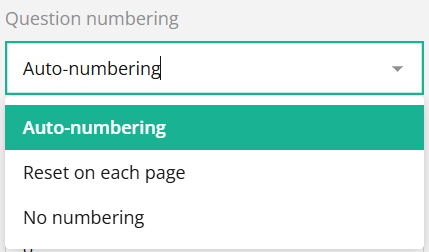
You can either use auto-numbering that counts and gives the number to every question of the survey, for example, if the survey has 20 questions on two pages and 10 per page, questions are numbered from 1-20. The reset on each page option calculates questions on the page, so in our example case, we would get two pages each with questions numbered from 1-10. No numbering option will not show any question numbers to respondents.
Checking Focus first question on a new page option (see picture below) auto-focuses on the input field of the first question of each page. If this question is a text input question, respondents can start typing without the need to select the question first.

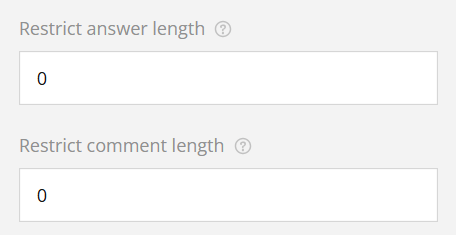
Using question settings you can also determine the allowed maximum length of the different user inputs.
If the Auto-expand text area checkbox (see picture below) is ticked, the comment answer box will grow in case the user types text more than the field can show at once. If the checkbox is left unticked, the comment box size stays the same and if the user types more than the field can show, the scroll bar will appear in the comment box to help the user check what they have written in the comment box. By default, users are allowed to resize text areas, but this option can also be toggled off. These two options only affect comment and long text fields.

Page settings
Using Page settings you can set up general settings that will be applied to every page of the survey, edit names and titles of pages, and also add pages to the survey (see picture below).
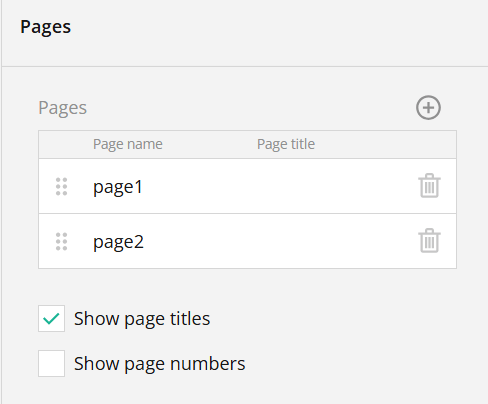
The Page name can be used as a visible page name or combined with the title, as a work name. The Page title is the part that is written in the navigation of the survey, and it overwrites the page name in the navigation bar.
If the Show page titles checkbox is not ticked, the titles will not be shown even in situations where the field contains text. If ticked, the title and description are shown at the top of the page.
The Show page titles checkbox also controls the visibility of the description. Both title and description can be shown without another being present, so if the title is empty but the description contains text the description is shown and vice versa.
Show page numbers checkbox toggles the visibility of the page number, which will be added in front of the title. Please note that the page number requires the title to work, so if the title is left empty the page number will not be visible on that page.
Conditions
The condition tabs allow you to add and edit logical rules that affect the flow of the survey.
In the conditions, you can create new variables to use in calculations. For example, you can create a variable to combine the answer values of wanted Rating Scale questions by using the following parameters:
{RSquestion1} + {RSquestion2}
Let’s name the variable CombinedRS. Now if we, for example, only want detailed information from respondents who gave us lower scores, we can use a trigger. Triggers are rules that determine what happens if the selected expression is true.
So, we make a trigger with an expression:
{CombinedRS} > 10
Then we pick the Complete Survey event from the trigger list. Now, if the combined score of respondents’ rating scale question answers is higher than 10, the respondent is redirected to the Thank You page. If the total is lower, the user will continue the survey, so we can ask more questions to determine why they gave so low scores.
Validation
Survey’s settings are used to determine the validation rules. Using these settings users can determine the exact point when the survey checks if respondents’ answer follows the rules of the question. With validation rules users can determine when the validation is run, and if they want the survey to focus on the first possible invalid answer or not when the validation check is done. (see picture below)
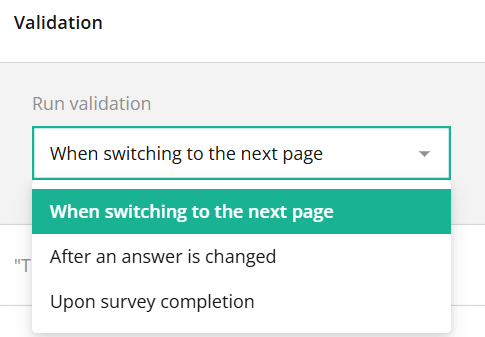
There are three possible options for validation. When switching to the next page option validates the questions when the respondents move to the next page from where the question is located. After an answer is changed option validates the question the moment user has interacted with the question and moves on. Upon survey completion validates all the questions when respondent presses the button that completes the survey.
Thank You Page
This feature allows you to add HTML to modify the page users will see after they have completed the survey. For example, you can add picture using the following HTML tag:
<img src="add picture URL between these brackets">
By using this we can for example show the user our logo at the end of the survey by adding the URL of the logo to the page by using the <img> tag. The result would look like this:

Quiz Mode
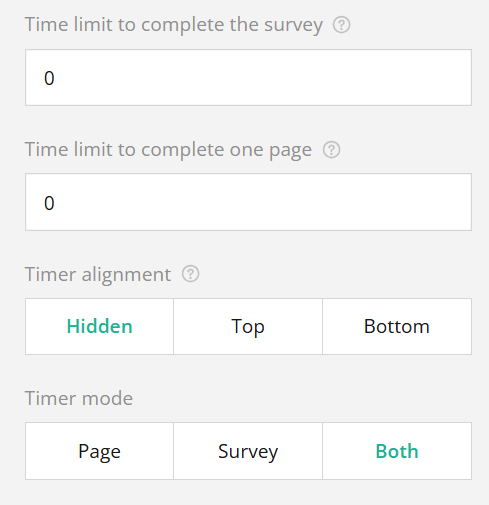
Quiz mode allows you to add time limits to the survey (see picture below). The timer can be set for the whole survey, one page or both. The timer can be hidden or displayed at the top or bottom of the survey. Users can also choose whether they want respondents to see the page times, the survey timer, or both.
