General
Adding a calendar file (.ics) link to a mass event email allows the registered participant to easily add the event to their calendar application with a single click. This simplifies the whole process since the attendee does not need to add the event to their calendar manually.
Start
After the mass event has been created with proper settings, the calendar link can be added to the email straight from the email editor. The default name of the link is the name of the mass event. The name and appearance of the link can be changed using the email editor.
Quick start guide
- Open the mass event email in the email editor.
- Click the headline or text area and select More from the text properties bar.
- Select Link to…
- Select Calendar file (.ics) for mass event.
- Select the wanted event from the list and press Save.
Step-by-Step guide
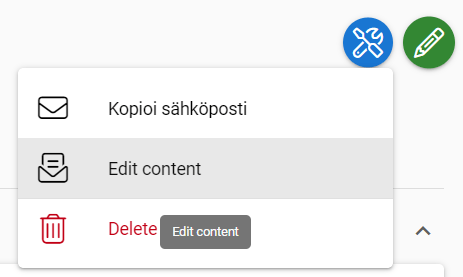
First, you open the entity card of the wanted email and select the module tool icon ![]() . Then choose Edit content from the menu.
. Then choose Edit content from the menu.

Next, you go to the wanted area in the email – this is the block where the link will be added. In the example picture below, we are adding the link to the example text block. Select More from the editing bar and then select the Link to… -option from the picklist.

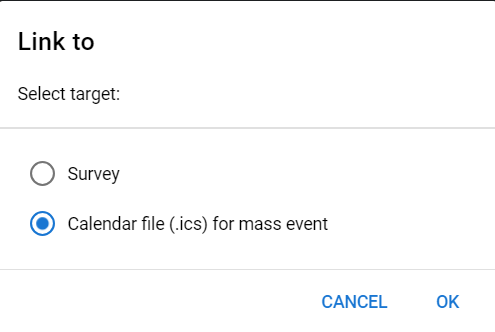
Next, the system adds what you want to link in the email. Select Calendar file -option and press OK.

Select the wanted mass event from the list and then press Save. In this example, we are linking the Example Event to the email.

Now the event is linked to the wanted block and will appear in the confirmation email that is sent to attendees. You can edit the link using the tools provided by the email editor. You can also retype the name of the link – just remember to not erase every letter of the link at once or the link will be lost, and you have to link it to the email again by using the steps above.
