General
Once you have completed the survey, you can distribute it via an email link. The survey can be attached to the email as a text link or a button. In this guide, we will show an example of both.
Start
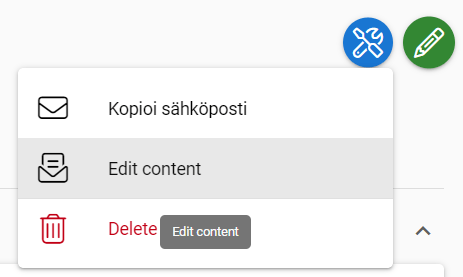
For this guide, we assume you already have an email template for sending this survey. Go to the entity card of the email template you have created for sending the survey and select Edit content.

Adding a link in text form
Go to the desired area of the email – this is the block where the link will be added. In the example image below, we will insert the link in the example text block. Click Add in the edit bar, then select the Link to… option from the drop-down list.

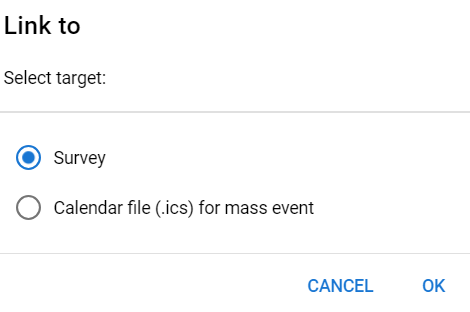
Next, choose what you want to link to. Select the Survey option and press OK.

Then select the desired survey from the drop-down list and press Save. Once the linking is successful, a link with the name of the survey will appear in the selected block. You can edit the link using the tools provided by the email editor. You can also re-type the link name – just remember not to delete every letter of the link at once, or the link will disappear and you will have to link it to the email again using the steps above.

Linking the survey to a button
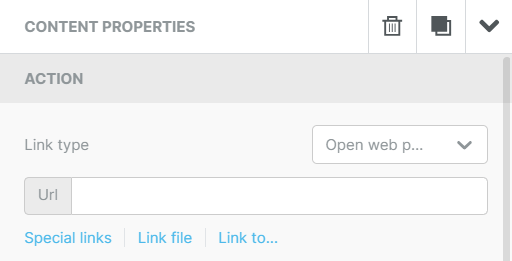
Linking a survey to a button is done by first adding the button from the Content menu and inserting it in the desired location. Once the button is selected, you go to the Content Properties section on the right and from there to the Action section. Below the URL bar, there is a Link to… which can be clicked to add a link to the survey.

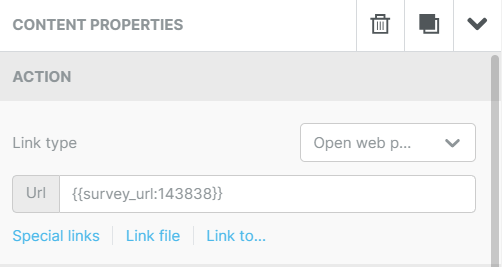
Just as in the text link step, select survey as the link insert type and select the desired survey from the list. After a successful linking, the following text will appear in the button URL box, indicating the CRMID number of the survey to show what survey is linked to that specific button (see picture below).
