General
Workflows “Add contact to campaign” and “Remove contact from campaign” can be used to automate the update campaign’s content. This is especially useful with email campaigns – with these workflows, you can automatically include or remove the contact from an email campaign based on the contact’s information, so you do not need to update the campaign manually before sending an email. The workflows take into account any active unsubscriptions in the campaign, so an unsubscribed contact will not be readded even if they would match the conditions of the workflow adding contacts.
For more information about workflows in general, see the guide Workflows.
Setting Up the Campaign
The first thing to have ready is the campaign that will be used for sending emails.
If the campaign is created right before the workflows, it is recommended to use filters or target groups to add all the contacts that currently should be included in the campaign. The workflows will then add/remove the needed contacts whenever a contact’s information is modified.
Creating the Workflow for Adding Contacts
When the campaign is ready, you can create workflows for it.
Workflows are managed in Settings → Workflows. Alternatively, you can also access these settings through the Contacts module’s settings.
To create a new workflow for adding contacts to the campaign, click on the New workflow button at the top right corner of the main view and select the module Contacts in the pop-up.
In the first phase, you must determine a name and conditions for running the workflow.
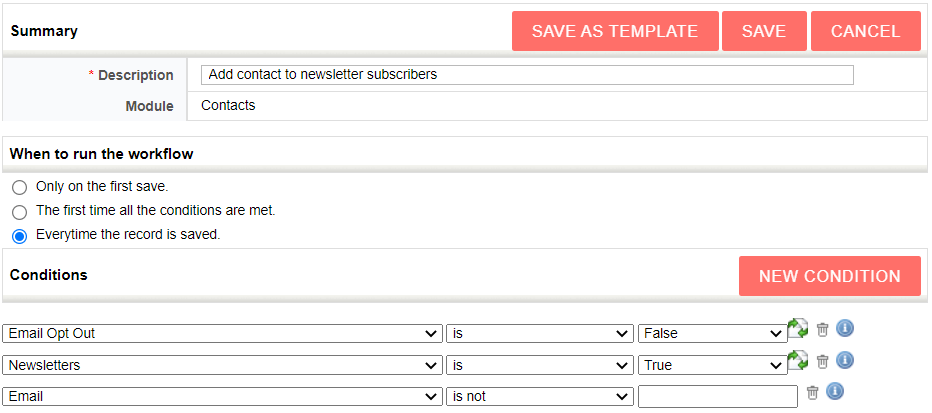
In the When to run the workflow section, it is recommended to select the option “Every time the record is saved”. This way the contact will be included in the campaign again if they once have been removed and later match the conditions again (excluding unsubscribing).
In the Conditions section, you must determine the information based on which the contact should be added to the campaign. In the picture below, the contact is added if they do not have the Email Opt-out activated, a checkbox called “Newsletters” is active and they have an email address.
After this, save the workflow for the first time.
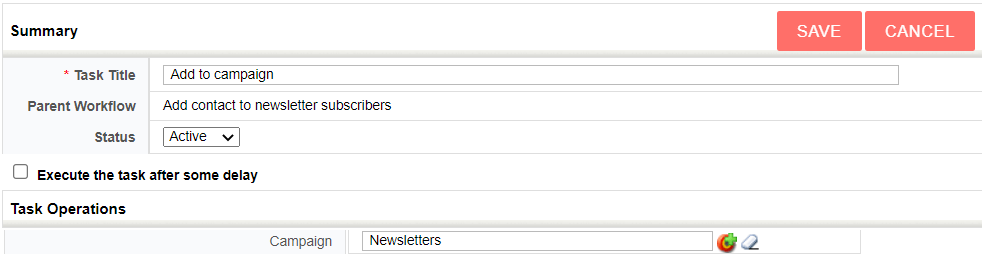
After saving the workflow, you will be able to add tasks in the Tasks section. Click on the New task button and select the task “Add to campaign”.
You must then name the task and make sure, that the task is set to active. If necessary, you can also set some delay for the task.
The last step is to select the correct campaign in the Campaign field (see the picture below) and then save the task. The workflow is operational right after this.
Creating a Workflow for Removing Contacts from the Campaign
To complement the workflow created above, you can also create a workflow to automatically remove contacts from the campaign, if the required conditions are no longer met.
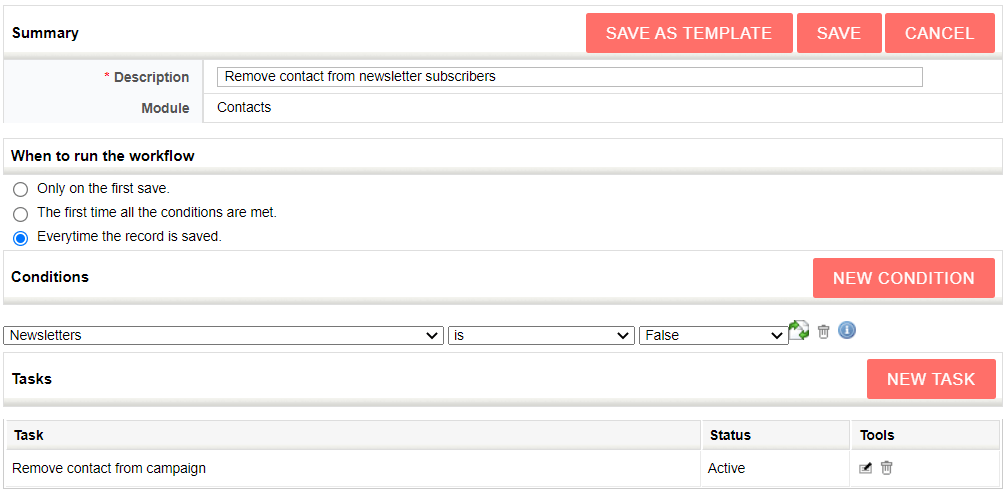
The creation is very similar to the previous one: the workflow needs to be created into Contacts module and should be run on every save. The conditions should be opposite to the ones in the workflow adding contacts, though they can be simpler (see the picture below). NB. The conditions are in AND relation to each other, therefore the workflow is only triggered if all the conditions are met at once.
The task needed for this workflow is “Remove from campaign” and it should concern the same campaign as the previous workflow.