General
With mass editing, you can edit multiple fields simultaneously. The mass edit option is located in the chosen CRM modules’ top right corner. By default, all the modules in CRM are mass editable.
The following field types are editable with mass editing straight from the tools main view:
- Checklists
- Checkboxes
- Date fields
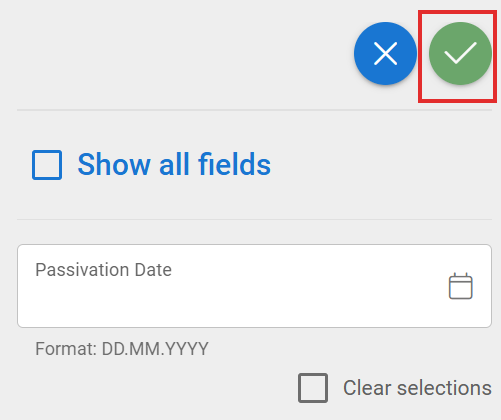
The mass editing tool will only show the fields that can be mass-edited and are active in the selected filter. The Show all fields option is an advanced mass editing option that allows editing of all fields of the module selected in the filter. Relation fields coming through the filter cannot be mass-edited.
In addition, mass editing operates on a view-by-view basis, i.e. if only 10 records are displayed in the filter list, mass editing will only work for these 10 records. The view can be expanded from the Records on-page menu (10, 50, 100) at the bottom of the list. This means that the maximum number of records that can be mass-edited simultaneously is 100.
If the filter, on what basis the user is mass editing, has active conditions, and a field is mass edited against this condition, the records will disappear from the filter. When the condition no longer matches, the results of the filter will change. This should be remembered before mass editing a large number of fields.
Example of mass editing
1. Select wanted filter

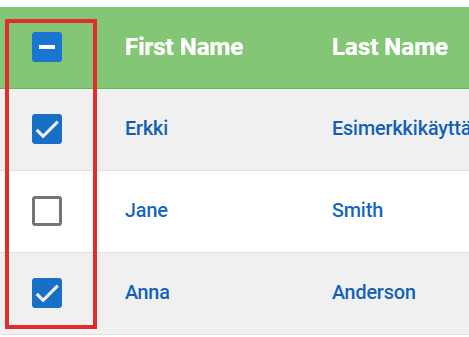
2. Select all or some of the entities for editing
3. Select Mass Edit from the top right corner

4. Make changes to the fields you want and press Save (green checkmark button)