Outlook Add-in user guide
Before the Outlook Add-in can be used, it needs to be activated by an admin user (instructions: Outlook Add-In Setup).
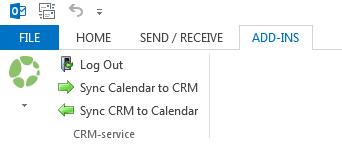
The Add-in is managed on the Add-ins tab in Outlook. On the Add-ins tab, there are buttons for i.a. logging in and out, manual synchronizing and settings (see the picture below).
Appointments and activities
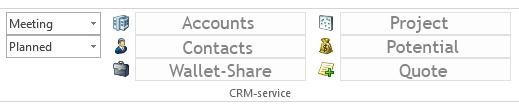
When creating a new appointment (= activity on CRM) in Outlook, there is a CRM-service tool for linking the appointment to CRM-entities (see the picture below). With the tool’s picklists you can select the type and status for the activity. The other buttons can be used for selecting e.g. an account, contact or project to be linked to the activity.
An event type must always be given for calendar entries (meeting, call, etc.) to enable synchronization with CRM (and vice versa). If the event type information is *empty*, the calendar entry in question will not be synchronized and thus remain only in the user’s Outlook calendar.
NB! If you can’t see the right activity type in the picklist, try checking and updating the preferences of the Add-in (on the Add-ins tab by clicking the CRM logo and then selecting Preferences). For example the new added activity types are not automatically synchronized to Outlook, but the Add-in preferences must be saved to update the picklist.
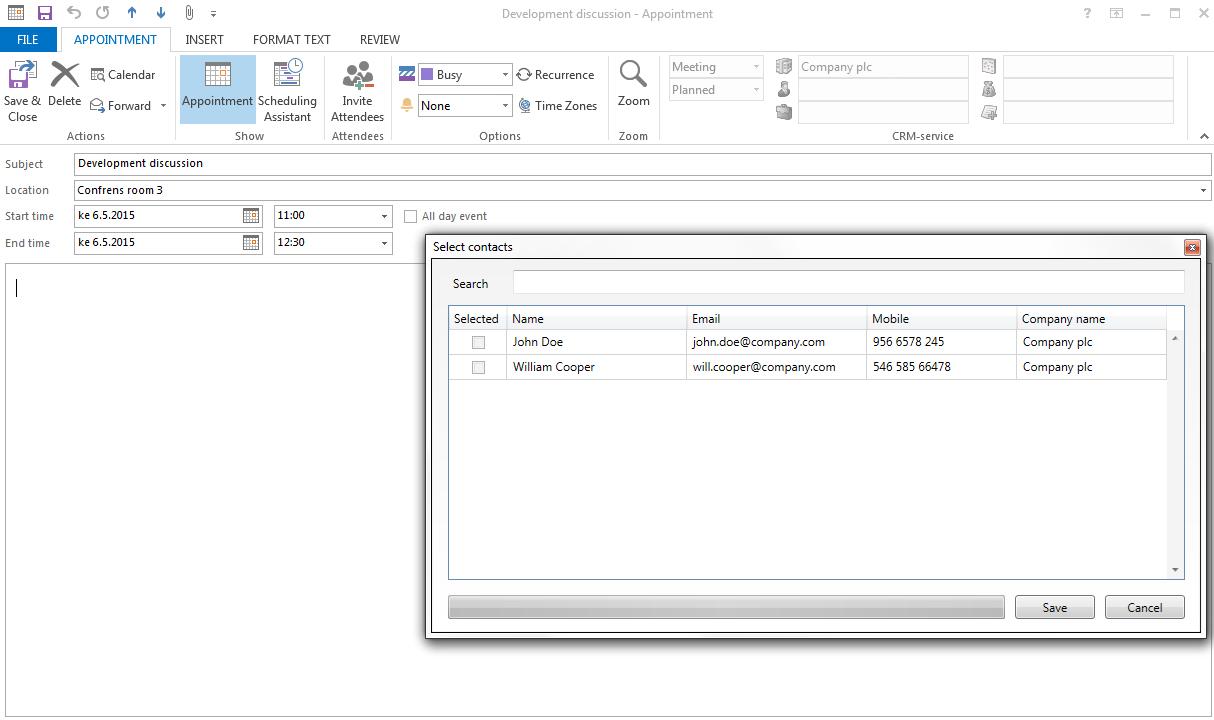
When at least one entity has been selected and you are adding another one, the add-in tool will automatically search for and offer other entities connected to the earlier one. You can also use the Search field to search for the entities (see the picture below). You can choose more than one entity to each field.
You can always choose to fill or not to fill the fields in the tool according to your needs. If the selected activity type is *empty*, the appointment will not be synchronized to CRM.
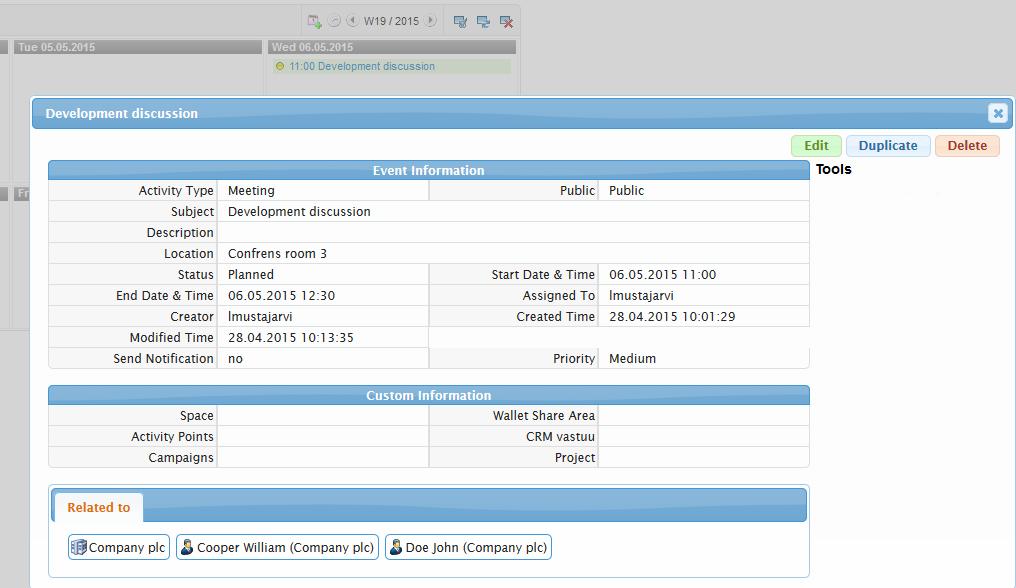
When the appointment is saved, it will be normally saved to your Outlook calendar and then synchronized to the CRM calendar as an activity (see the pircture below). The activity can be edited later on either of the calendars and synchronizing to the other calendar will happen (or not) according to the Add-in settings (for more information, see the guide Outlook Add-In Setup).
NOTE: All other event data can be edited for existing events except for the Assigned To- field when the sync is in use. Only at the event creation stage (before the first save) in CRM the desired Assigned To- user can be selected. Once the event has been saved, the information can no longer be changed. If the event Assigned To-user however needs to be changed, the event must be recreated (entirely new event) and the desired user then selected to the Assigned To- field (during the creation phase). The Outlook calendar can only be used to create events for oneself and cannot be assigned to other users.
Emails (from Outlook to CRM)
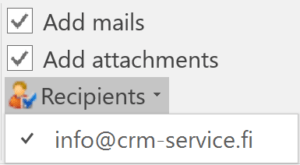
There is also a tool for linking emails to CRM entities when creating a new e-mail. With this tool, the emails and also their attachments can be synchronized to CRM by checking the Add mails and Add attachments checkboxes. The file size limit for the attachments is 6 MB. If the email is synchronized to CRM, the email recipients will be saved in the Recipients picklist (see the picture below). The email – and possibly it’s attachments – is then linked to these recipients in the CRM. Note that Outlook can’t check whether the recipient exists as a contact in the CRM or not.
In the CRM, the sent and synchronized email is shown on the contact’s More information tab. By clicking the subject of the email you can the access the full e-mail. The possible attachments are shown on the More information tab of the email.
